Getting Started with Python: Installing Python and Setting Up Environment

Python is a popular programming language used in a wide range of applications, including web development, data analysis, and artificial intelligence. If you're just getting started with Python, the first step is to install it and set up your environment. In this post, we'll guide you through the process of installing Python and configuring your environment to start programming with ease.
Heading 1: Downloading and Installing Python
To get started with Python, you need to download and install it on your computer. Here's how:
-
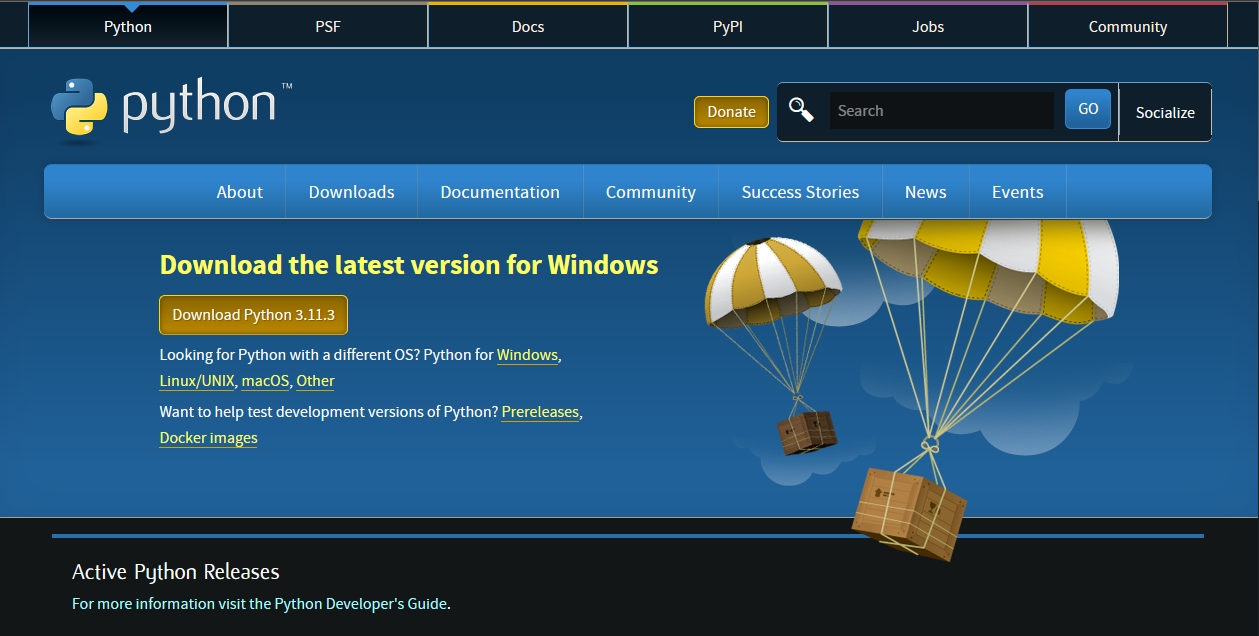
Go to the official Python website at .
-
Click the "Download" button for the latest version of Python.
-
Choose the appropriate version for your operating system (Windows, macOS, or Linux).
-
Run the installer and follow the on-screen instructions to complete the installation.
Once Python is installed, you should be able to open a command prompt or terminal and type "python" to start the Python interpreter.
Heading 2: Setting Up Your Environment
After installing Python, you need to set up your environment to start programming. Here are the steps:
-
Choose a code editor or integrated development environment (IDE). Some popular options include PyCharm, Visual Studio Code, and Sublime Text.
-
Install any necessary plugins or extensions for your chosen editor/IDE to support Python development.
-
Create a new project or open an existing one.
-
Set up a virtual environment to isolate your project's dependencies. This ensures that your project will run consistently across different machines and environments. You can create a virtual environment using the "venv" module in Python or a tool like Anaconda.
-
Install any necessary packages or libraries for your project using the "pip" package manager.
Example:
Let's say you want to create a Python project for data analysis. You've decided to use Visual Studio Code as your code editor. Here's how you would set up your environment:
-
Download and install Python from the official website.
-
Install the "Python" extension for Visual Studio Code.
-
Create a new folder for your project and open it in Visual Studio Code.
-
Open the terminal in Visual Studio Code and create a virtual environment using the command "python -m venv env".
-
Activate the virtual environment using the command "source env/bin/activate" (on macOS/Linux) or "env\Scripts\activate" (on Windows).
-
Install the necessary packages for data analysis using the command "pip install pandas numpy matplotlib".
Now you're ready to start coding!
The Common Question, Problems, and Answers
Q: How do I know if Python is installed on my computer?
Q: How do I activate a virtual environment?
Q: What is pip, and how do I use it?
Q: How do I install packages for a specific project?
Q: How do I choose a code editor or IDE?
Q: How do I install plugins or extensions for my chosen code editor or IDE?
Q: What do I do if I encounter errors while installing or setting up my Python environment? A: First, try to search for the error message online to see if there is a known solution. If not, try uninstalling and reinstalling Python, or consult the documentation for your code editor/IDE or virtual environment tool. You can also seek help from online forums or communities dedicated to Python development.
Conclusion of Installing Python and Setting Up Environment
Installing Python and setting up your environment can seem daunting, but it's an essential step for any Python programmer. By following the steps outlined in this post, you'll be able to get started with Python quickly and easily. With your environment configured, you'll be able to focus on writing code and building your Python skills. Happy coding!
